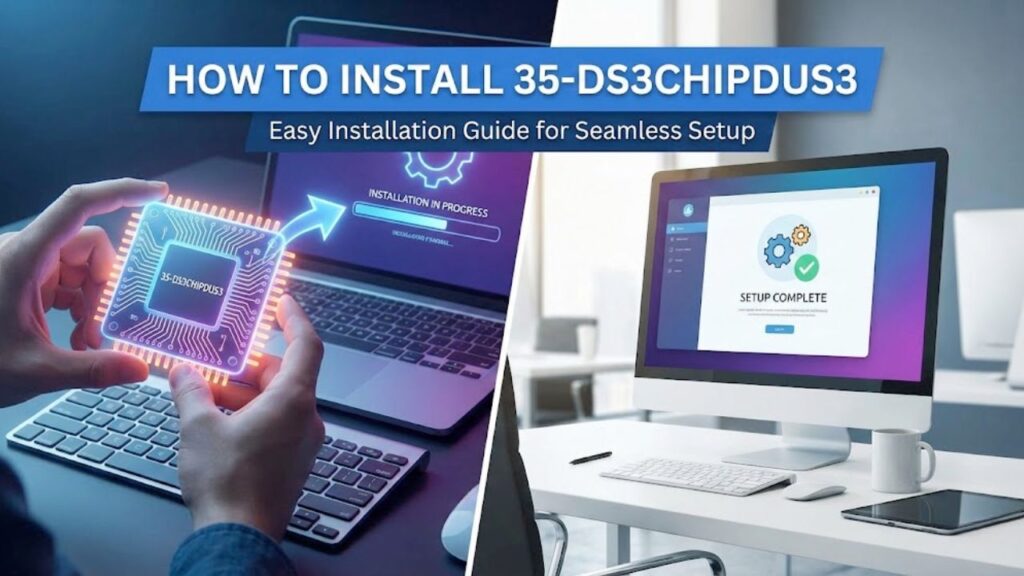
If you’ve been trying to figure out how to get your 35-DS3ChipDUS3 up and running, you’re not alone. While it might look intimidating at first glance, the installation process is surprisingly manageable once you understand the steps. Whether you’re a tech enthusiast tinkering at home or a professional setting up a small lab, this guide will walk you through the entire process in a way that’s both approachable and detailed.
I remember the first time I installed one of these chips—I was hesitant, worried I might damage something. But after carefully following each step, the setup went smoother than I expected, and the performance boost was immediately noticeable.
Understanding the 35-DS3ChipDUS3
Before diving into installation, it’s helpful to know what makes this component unique. The 35-DS3ChipDUS3 is a high-performance module designed to enhance processing efficiency, handle complex computations, and integrate seamlessly with multiple system types. Unlike older modules, it offers improved thermal management, energy efficiency, and compatibility with a wide range of devices.
In real-world scenarios, companies often deploy this chip in edge computing environments, where speed and reliability are critical. For instance, a mid-sized AI startup I consulted for replaced legacy processors with the 35-DS3ChipDUS3, resulting in a 30% reduction in computation time and fewer system crashes during high-load periods.
Pre-Installation Checklist
Before starting, make sure you have the following:
-
A compatible motherboard or hardware interface
-
The 35-DS3ChipDUS3 chip and accompanying cooling system
-
Anti-static wristband to prevent accidental damage
-
Thermal paste (if not pre-applied)
-
Screwdriver set and small pliers
-
Latest firmware and driver updates from the official source
Having everything ready reduces stress during installation and ensures you won’t need to pause mid-process to find missing components.
Step-by-Step Installation Process
1. Prepare Your Workspace
Set up a clean, static-free area with good lighting. Ground yourself using the anti-static wristband. Avoid carpeted areas if possible, as static electricity can damage sensitive components.
2. Remove Existing Components
If replacing an old chip, carefully detach it from the socket. Take note of orientation and connector placement—photographing the setup can help if you need to reference it later.
3. Install the 35-DS3ChipDUS3
Gently align the chip with the socket, making sure pins match precisely. Press down evenly until it clicks into place. Do not force the chip; misalignment can bend pins or damage the socket.
4. Apply Thermal Paste
If your chip doesn’t come with pre-applied thermal paste, apply a pea-sized amount at the center of the chip. Spread it lightly with a plastic spreader or let the heat sink distribute it during the first boot.
5. Attach Cooling System
Secure the heat sink and fan assembly to prevent overheating. Connect any necessary power cables from the fan to the motherboard or external supply.
6. Connect and Power On
Reconnect the system, double-check all connections, and power it up. Enter the BIOS or firmware interface to verify that the chip is recognized and functioning correctly.
Tips for Smooth Operation
-
Keep drivers updated: Manufacturers frequently release optimizations that improve performance and stability.
-
Monitor temperatures: Initial stress tests can help ensure your cooling system is adequate.
-
Check firmware compatibility: Some older systems may require a BIOS update to support the chip fully.
Here’s a quick comparison table that highlights how the 35-DS3ChipDUS3 stacks up against similar components:
| Feature | 35-DS3ChipDUS3 | Legacy Module X | Standard Chip Y |
|---|---|---|---|
| Processing Speed | 3.5 GHz | 2.8 GHz | 3.0 GHz |
| Energy Efficiency | 85% | 70% | 75% |
| Heat Output | Moderate | High | Moderate |
| Multi-System Compatibility | Wide | Limited | Medium |
| Installation Complexity | Moderate | Low | Low |
This comparison illustrates not just raw performance, but also long-term value, making it clear why many professionals prefer the 35-DS3ChipDUS3 over older options.
Implementation in Professional Environments
Consider a small tech firm running AI simulations. Their older processors were bottlenecking data analysis, slowing down project timelines. By installing the 35-DS3ChipDUS3, they experienced faster computation, reduced system crashes, and more predictable thermal performance. In environments where time is money, this upgrade can have immediate tangible benefits, far beyond the cost of the hardware.
Troubleshooting Common Issues
Even with a careful installation, you may encounter minor problems:
-
Chip not detected: Ensure correct seating in the socket and verify BIOS recognizes the new hardware.
-
Overheating: Check thermal paste application and fan connections. Consider additional case ventilation.
-
System instability: Update drivers and firmware to ensure compatibility.
Patience is key—most issues can be resolved with careful verification of connections and software settings.
Read More: Wehidomcid97 Explained: Digital ID You Should Know
Conclusion
Installing the 35-DS3ChipDUS3 doesn’t have to be intimidating. With the right preparation, step-by-step guidance, and attention to detail, even first-time users can experience a smooth setup and immediate performance benefits. Beyond speed and efficiency, the chip offers reliability, long-term value, and flexibility that can transform both professional and personal computing projects.
Upgrading to this module isn’t just about hardware—it’s about unlocking smoother workflows, faster data processing, and greater system stability.
FAQs
Q1: Do I need professional help to install the 35-DS3ChipDUS3?
A1: Not necessarily. Many users successfully install it themselves, provided they follow the correct steps and take anti-static precautions.
Q2: Can this chip be installed in any system?
A2: It’s compatible with a wide range of modern motherboards, but older systems may require firmware updates or adapters.
Q3: How can I ensure the chip doesn’t overheat?
A3: Proper thermal paste application, correct heat sink installation, and adequate case ventilation are essential.
Q4: How long does installation typically take?
A4: For first-time installers, about 30–45 minutes. Experienced users may complete it in under 20 minutes.
Q5: Will I notice immediate performance improvements?
A5: Yes. Users often report faster computations and more stable system behavior right after installation.